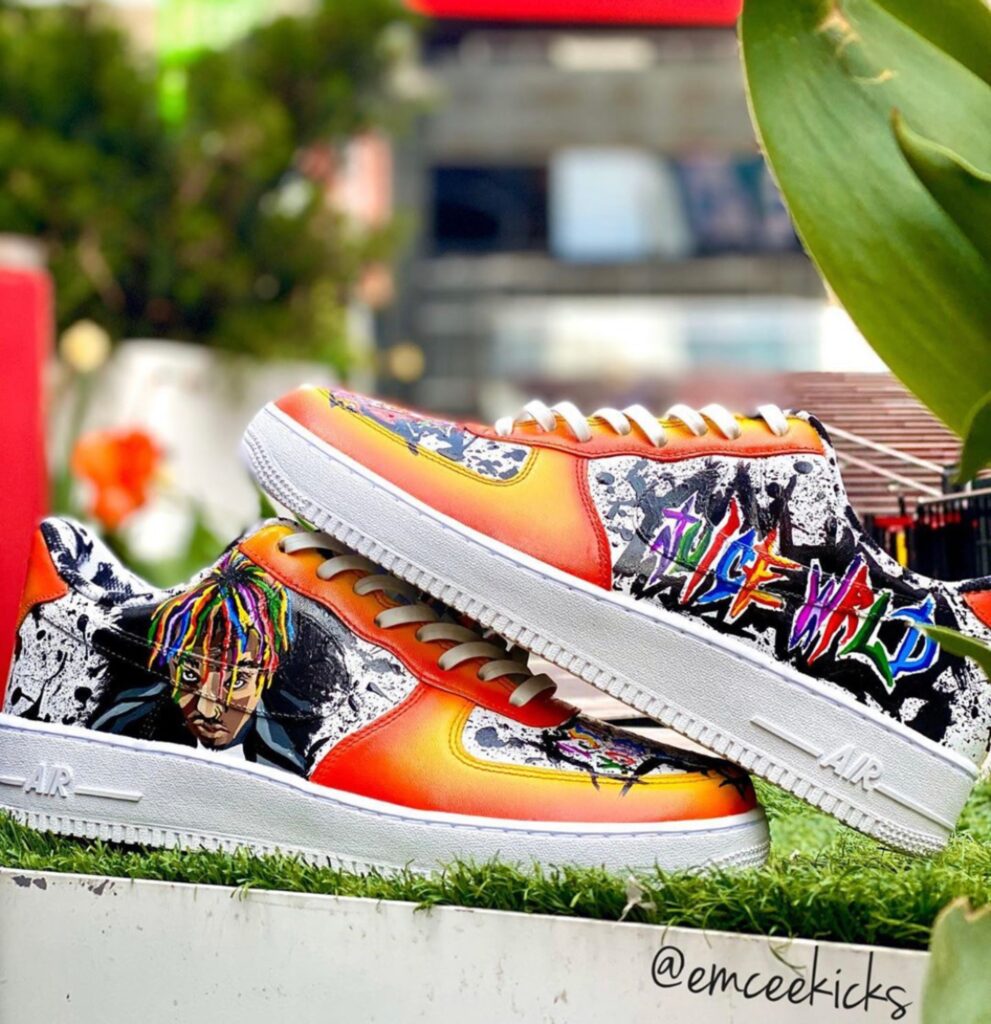
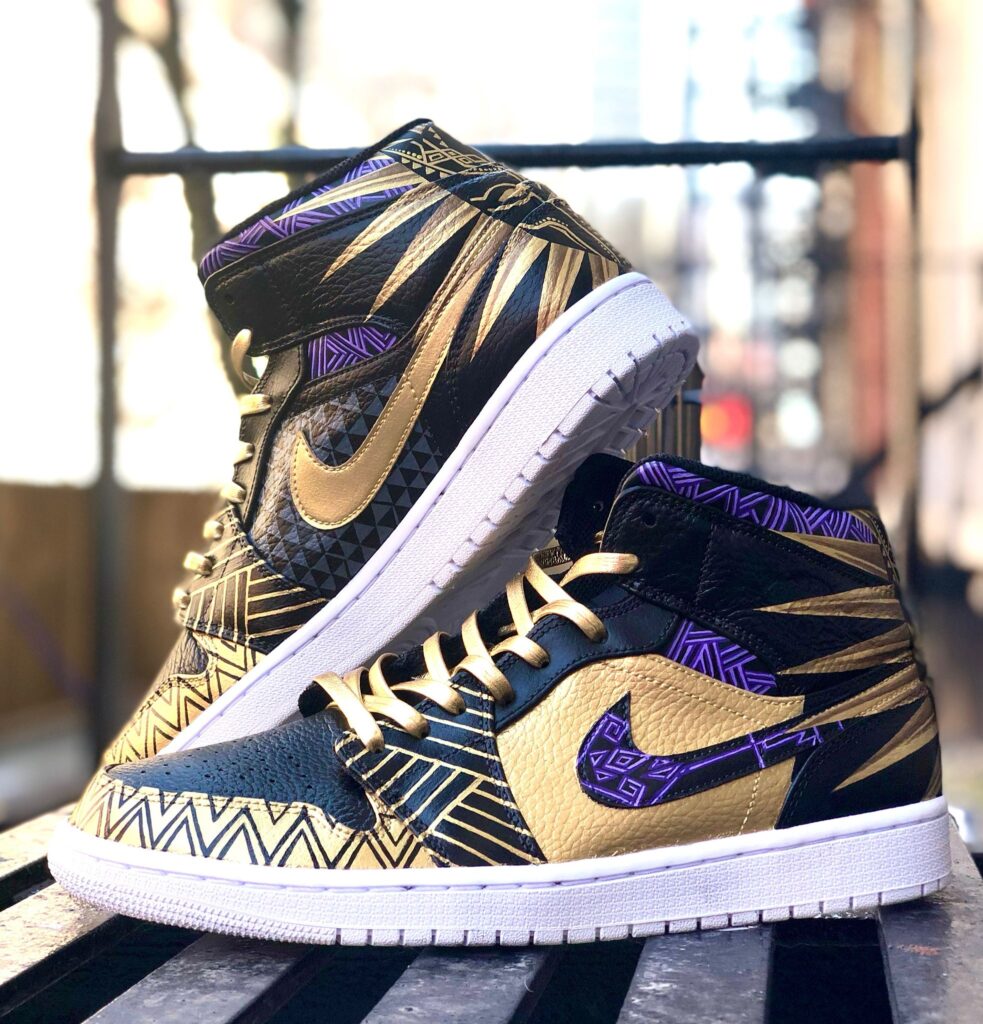
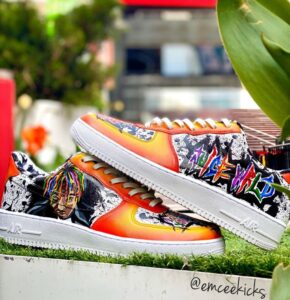
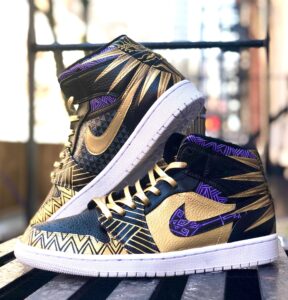
Custom sneakers are more than just shoes—they are wearable works of art, unique pieces that showcase creativity and personal style. Whether you’re a beginner or an experienced artist, the process of customizing sneakers can be incredibly rewarding. However, it’s also easy to make mistakes that can ruin your designs or leave you frustrated with the results. Avoid These 10 Mistakes in Custom Sneaker Art to ensure your work stands out. Don’t worry, though—learning from others’ mistakes is part of the process.
In this article, we’ll walk you through how to Avoid These 10 Mistakes in Custom Sneaker Art and how to fix them. If you’re eager to take your sneaker art to the next level, our in-person workshops in NYC can teach you these techniques firsthand! Keep reading for a comprehensive guide to making your custom sneakers look professional, durable, and creative.
1. Not Cleaning the Shoes Properly
Why It Matters:
Before you start painting, cleaning your shoes is the most important step. Sneakers are often made of materials like leather, canvas, or rubber that can accumulate dirt, oils, and other contaminants. These substances prevent your paint from adhering to the surface and can cause your designs to fade or peel over time.
How to Avoid It:
- Use rubbing alcohol or acetone to wipe down the shoes thoroughly. This will remove oils, dirt, and factory coatings that can prevent paint from bonding.
- Be careful with the materials: for delicate fabrics like suede, avoid acetone, as it can damage the texture. Stick to rubbing alcohol or a mild soap solution.
- If you’re working with a pair of sneakers that have visible dirt or grime, use a toothbrush to scrub the surface before applying the alcohol.
Pro Tip: Clean both the inside and outside of the shoe. Sometimes dust or debris inside can also interfere with paint adhesion.
2. Skipping the Taping Step
Why It Matters:
Not using tape to frame your design area can lead to messy edges and an unprofessional look. Whether you’re customizing a pair of Converse or painting a custom Nike sneaker, clean lines are crucial to creating a polished, high-quality design.
How to Avoid It:
- Use painter’s tape or masking tape to outline your design area. This ensures clean edges and defines the area where the paint should go.
- Make sure the tape is pressed firmly against the shoe to avoid any paint seepage.
- For intricate designs, consider using fine-line tape for extra precision.
Pro Tip: If you’re painting around the laces, remove them first to avoid paint smudges.
3. Painting on Challenging Materials Without Prep
Why It Matters:
Certain materials, like foam, patent leather, or vinyl, present challenges when it comes to painting. If you’re not careful, the paint may not stick or will chip off quickly, ruining your design.
How to Avoid It:
- For patent leather, foam, or plastic surfaces, consider using an adhesion promoter. This special spray ensures that paint sticks to non-porous materials.
- Always do a test spot on a hidden area before applying paint to the entire shoe. This allows you to check how well the paint adheres and dries.
Pro Tip: Angelus Direct paints offer specialized products for various surfaces, including leather, vinyl, and synthetic fabrics, which are perfect for handling these materials.
4. Using the Wrong Paint
Why It Matters:
Many new sneaker artists make the mistake of using acrylic paint, which isn’t designed for flexible surfaces like shoes. Acrylics can crack and chip easily when the shoe bends or moves, resulting in a design that doesn’t last.
How to Avoid It
- Invest in high-quality sneaker paints like Angelus Direct paints. These paints are designed specifically for customizing sneakers, providing both flexibility and durability.
- Consider using acrylic leather paints for a smoother finish and more flexibility, especially on shoes that will see a lot of wear.
Pro Tip: Angelus also offers a range of prep, paint, and finishing products that are ideal for customizing sneakers, from priming your shoes to sealing your designs.
5. Skipping Thin Layers
Why It Matters:
One common mistake new artists make is applying thick layers of paint all at once. Thick coats can lead to uneven finishes, cracks, and paint that doesn’t dry properly.
How to Avoid It:
- Apply thin layers of paint and allow each layer to dry before adding the next. This builds up color gradually and prevents cracking or clumping.
- It’s better to apply multiple thin layers than one thick layer.
Pro Tip: Use a heat gun between layers to speed up the drying process and avoid smudging or disturbing the paint.
6. Not Using a Heat Gun to Dry Each Layer
Why It Matters:
Air-drying takes too long and can leave your paint prone to smudges or uneven texture. A heat gun helps to set each layer quickly, so you can move on to the next one without waiting for hours.
How to Avoid It:
- After applying each layer of paint, use a heat gun (or a blow dryer on low heat) to dry the paint quickly. This ensures that the paint won’t smudge and that it adheres properly to the shoe.
- Keep the heat gun moving to avoid overheating any areas of the shoe.
Pro Tip: A heat gun is a great tool for both drying and curing the paint. Keep it at a distance to avoid warping delicate materials.
7. Skipping the Sealant Step
Why It Matters:
Without a proper sealant, your custom sneaker art is vulnerable to wear and tear, especially with frequent use. A high-quality sealant protects your design from dirt, water, and daily use.
How to Avoid It:
- Once you’ve completed your design, apply a clear coat or sealant to lock in your artwork and protect it from damage.
- You can choose between a matte, satin, or gloss finish depending on the look you want.
Pro Tip: Angelus Acrylic Finisher is a great option for sealing your design. It comes in different finishes, and it’s flexible enough to handle shoe wear and tear.
8. Overcomplicating the Design
Why It Matters:
While it’s tempting to go all-out with intricate details and complex patterns, overcomplicating your design can result in a messy or unappealing look. Less is often more when it comes to sneaker art.
How to Avoid It:
- Simplify your design: Focus on bold, impactful elements rather than overcrowding the sneaker with too many details.
- If you’re just starting out, it’s better to stick with simple shapes or a single statement piece.
Pro Tip: Look at popular sneaker artists and designers for inspiration—minimalistic designs often make a bigger statement than over-complicated ones.
9. Ignoring the Wearability of Your Design
Why It Matters:
Designing something that looks cool on paper may not always translate to something that works in real life. Custom sneakers are meant to be worn, not just admired, so it’s important to balance style with comfort and practicality.
How to Avoid It:
- Consider the shoe’s function: Are these sneakers meant for casual wear, workouts, or special occasions? Ensure that your design fits the purpose of the shoe.
- Pay attention to areas that will see the most wear (e.g., the toe box, heel, and soles) and choose durable colors or patterns.
Pro Tip: Sneakers are a fashion statement, but they’re also made for walking. Ensure your design doesn’t hinder the shoe’s natural movement or comfort.
10. Forgetting to Test Your Design
Why It Matters:
Jumping into your design without testing it can result in big mistakes—especially when it comes to color mixing, paint adhesion, or application techniques.
How to Avoid It:
- Test your design on a scrap piece of leather or fabric before committing to the whole shoe.
- If you’re using custom color mixes, test the combination to ensure the desired effect before applying it to the shoe.
Pro Tip: Using test swatches helps to save time and prevents you from ruining a pair of sneakers.
Conclusion
Customizing sneakers is an art form that takes patience, practice, and the right tools. By avoiding these common mistakes, you’ll be on your way to creating standout designs that not only look amazing but also last.
Ready to level up your sneaker art? If you want to take your skills to the next level and learn from experienced instructors, join one of our in-person workshops in New York City. We’ll walk you through all the techniques you need, from prepping your shoes to sealing the final design, to help you avoid these mistakes. For more information, check out www.emceekicks.com.
With the right knowledge, tools, and techniques, you’ll be customizing sneakers like a pro in no time. Don’t let these common mistakes hold you back—get started today and unleash your creativity!


